All Posts
github workflow로 lighthouse ci 추가하기
Lighthouse는 웹사이트의 성능을 측정하는 유명한 도구중 하나다. 이 Lighthouse를 CI와 연동하여 수시로 웹사이트의 성능을 점검할 수 있도록 해보자.
일단 lighthouse-ci는 여기에서 확인할 수 있다.
Local에서 사용하기
- 설치
npm install -g @lhci/cli - 루트 디렉토리에서
lighthouserc.js를 만들자. 여기가 설정이 들어가는 곳이다.module.exports = { ci: { collect: { /* Add configuration here */ }, upload: { /* Add configuration here */ }, }, }; - Lighthouse CI가 실행 될때마다, 서버가 구동되어 사이트가 시작되어야 한다. 이 서버가 작동하게되면, Lighthouse CI가 해당 서버를 토대로 웹사이트 성능을 추적할 것이다. 작업이 끝나면, 알아서 종료된다. 제대로 작동하기 위해서는 둘 중에 하나를 설정해둬야 한다.
staticDir:ci.collect에 해당 속성과 함께 static 파일이 위치한 곳을 설정해 두면된다. 그러면 Lighthouse CI는 알아서 그 파일을 기준으로 서버를 실행해서 테스트를 하게 된다.startServerCommand: static한 사이트가 아니라면,ci.collect에 서버를 키는 명령어를 적어두면 된다. (npm run start) 그러면 Lighthouse CI는 알아서 해당 명령어를 실행해서 서버를 키고, 끝난 후에는 종료 시킬 것이다.
ci.collect.url에 Lighthouse CI가 조사해야 할 주소를 적어두면 된다. 값은 배열로 설정해야 하며, 이말인 즉슨 여러개의 사이트를 적어둘 수 있다는 뜻이다. 기본값으로 해당 주소를 각 3번씩 조사한다.ci.upload.target에temporary-public-storage로 설정해두자. Lighthouse CI가 조사한 결과 레포트를 해당 위치에 업로드 할 것이다. 이 결과는 최대 7일까지 유지되며 이후에는 자동으로 삭제된다. 자세한 내용은 여기를 확인하자.ci.collect.numberOfRuns에 숫자를 넣어두면, 몇번을 실행할지 설정할 수 있다.- 설정이 끝났다면 실행하자.
lhci autorun정상적으로 설정해두었다면, 아래와 같이 결과가 나타날 것이다.
module.exports = {
  ci: {
    collect: {
      url: ['http://localhost:3000'],
      collect: {
        numberOfRuns: 5,
      },
    },
    upload: {
      startServerCommand: 'npm run start',
      target: 'temporary-public-storage',
    }
  },
}
yceffort@yceffort yceffort-blog-v2 % lhci autorun
✅  .lighthouseci/ directory writable
✅  Configuration file found
✅  Chrome installation found
⚠️   GitHub token not set
Healthcheck passed!

Started a web server with "npm run start"...
Running Lighthouse 5 time(s) on http://localhost:3000
Run #1...done.
Run #2...done.
Run #3...done.
Run #4...done.
Run #5...done.
Done running Lighthouse!

Uploading median LHR of http://localhost:3000/...success!
Open the report at https://storage.googleapis.com/lighthouse-infrastructure.appspot.com/reports/1617202753232-29187.report.html
No GitHub token set, skipping GitHub status check.

Done running autorun.
CI와 연계하기
Lighthouse CI는 다양한 CI 툴과 연계할 수 있다. 여기를 참고하면 관련된 가이드를 참조할 수 있다.
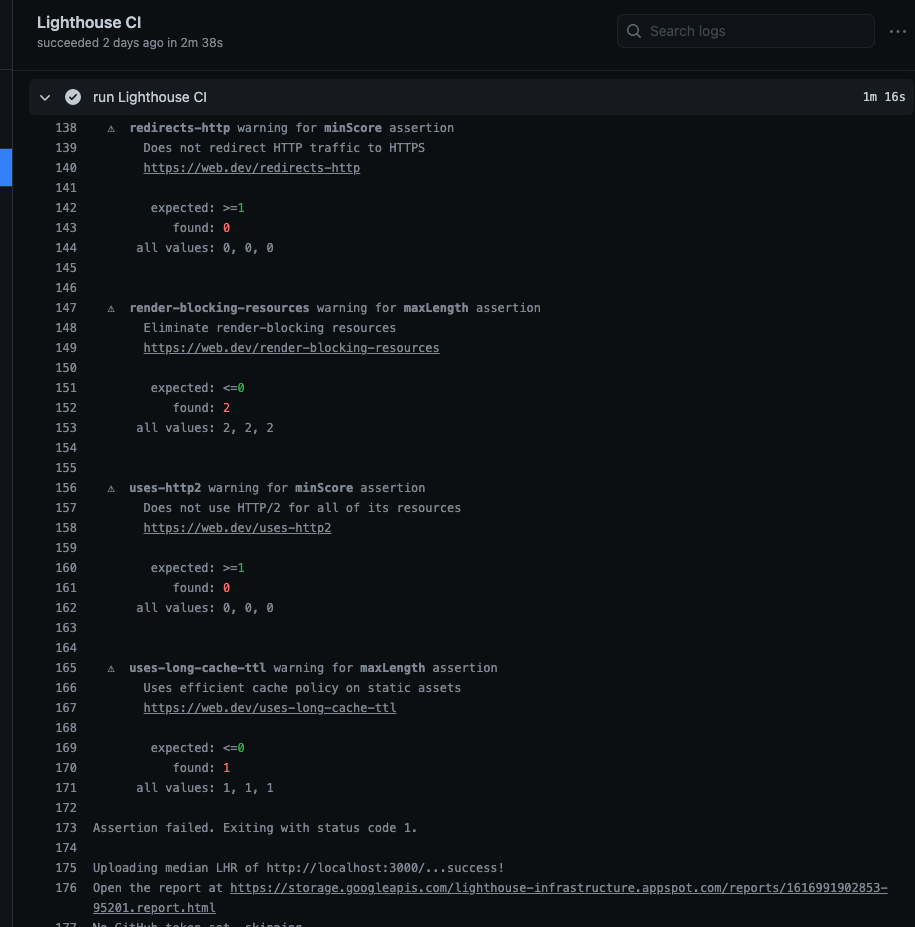
또한 성능 모니터링에서 한 걸음 더 나아가서 사전에 정의된 기준을 충족하지 못하는 경우 빌드에 실패하게 만들 수 있다. 이는 assert를 이용해서 작업할 수 있다.
Lighthouse CI 에서는 세가지 단계로 검사할 수 있다.
off: 무시warn:error: 이 경우 0가 아닌 값으로 종료된다.
module.exports = {
  ci: {
    collect: {
      // ...
    },
    assert: {
      assertions: {
        'categories:performance': ['warn', {minScore: 1}],
        'categories:accessibility': ['error', {minScore: 1}]
      }
    },
    upload: {
      // ...
    },
  },
};
github action과 연동하기
나의 최애이자 유일신(?) 은 github action이기 때문에, 여기에 연동을 해보려고 한다. (oss님 제발...)
.github/workflows에 원하는 이름으로 파일을 만든다. 나는lightouse-ci.yaml로 했다.- 해당 파일 내용을 다음과 같이 꾸몄다.
name: Build project and run Lighthouse CI on: [push] jobs: lhci: name: Lighthouse CI runs-on: ubuntu-latest steps: - uses: actions/checkout@v1 - name: Use Node.js 12.x uses: actions/setup-node@v1 with: node-version: 12.x - name: npm ci run: | npm ci - name: run build run: npm run build-nextjs - name: run Lighthouse CI run: | npm install -g @lhci/cli@0.3.x lhci autorun --upload.target=temporary-public-storage || echo "LHCI failed!"- nodejs 설치
- npm ci
- 프로젝트 빌드
- lhci 설치 및 실행
- assert 를 추가
 module.exports = {
   ci: {
     collect: {
       url: ['http://localhost:3000'],
       collect: {
         numberOfRuns: 5,
       },
     },
     upload: {
       startServerCommand: 'npm run start',
       target: 'temporary-public-storage',
     },
     assert: {
       preset: 'lighthouse:recommended',
     },
   },
 }
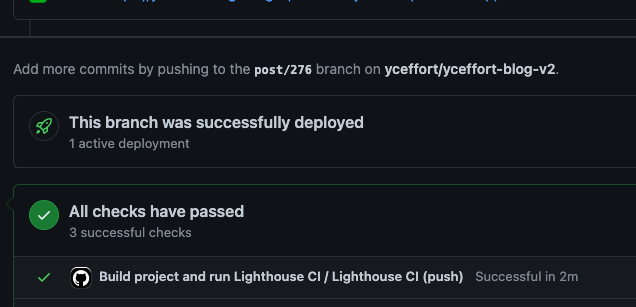
이제 코드를 푸쉬하면 아래와 같이 작동하는 것을 볼 수 있다.
https://github.com/yceffort/yceffort-blog-v2/pull/278


추가로 여기를 방문해서 app을 설치하고 레파지토리에 LHCI_GITHUB_APP_TOKEN를 키값으로 값을 추가해준다면, PR에 메시지도 남겨준다.